Sunday, January 11, 2015

Ms Bunny's chair

Some times you meet people and you are instant friends. Ms Bunny is one of those people. Always nice and always happy to see us when we go to her workplace at Second Chance in Baltimore.
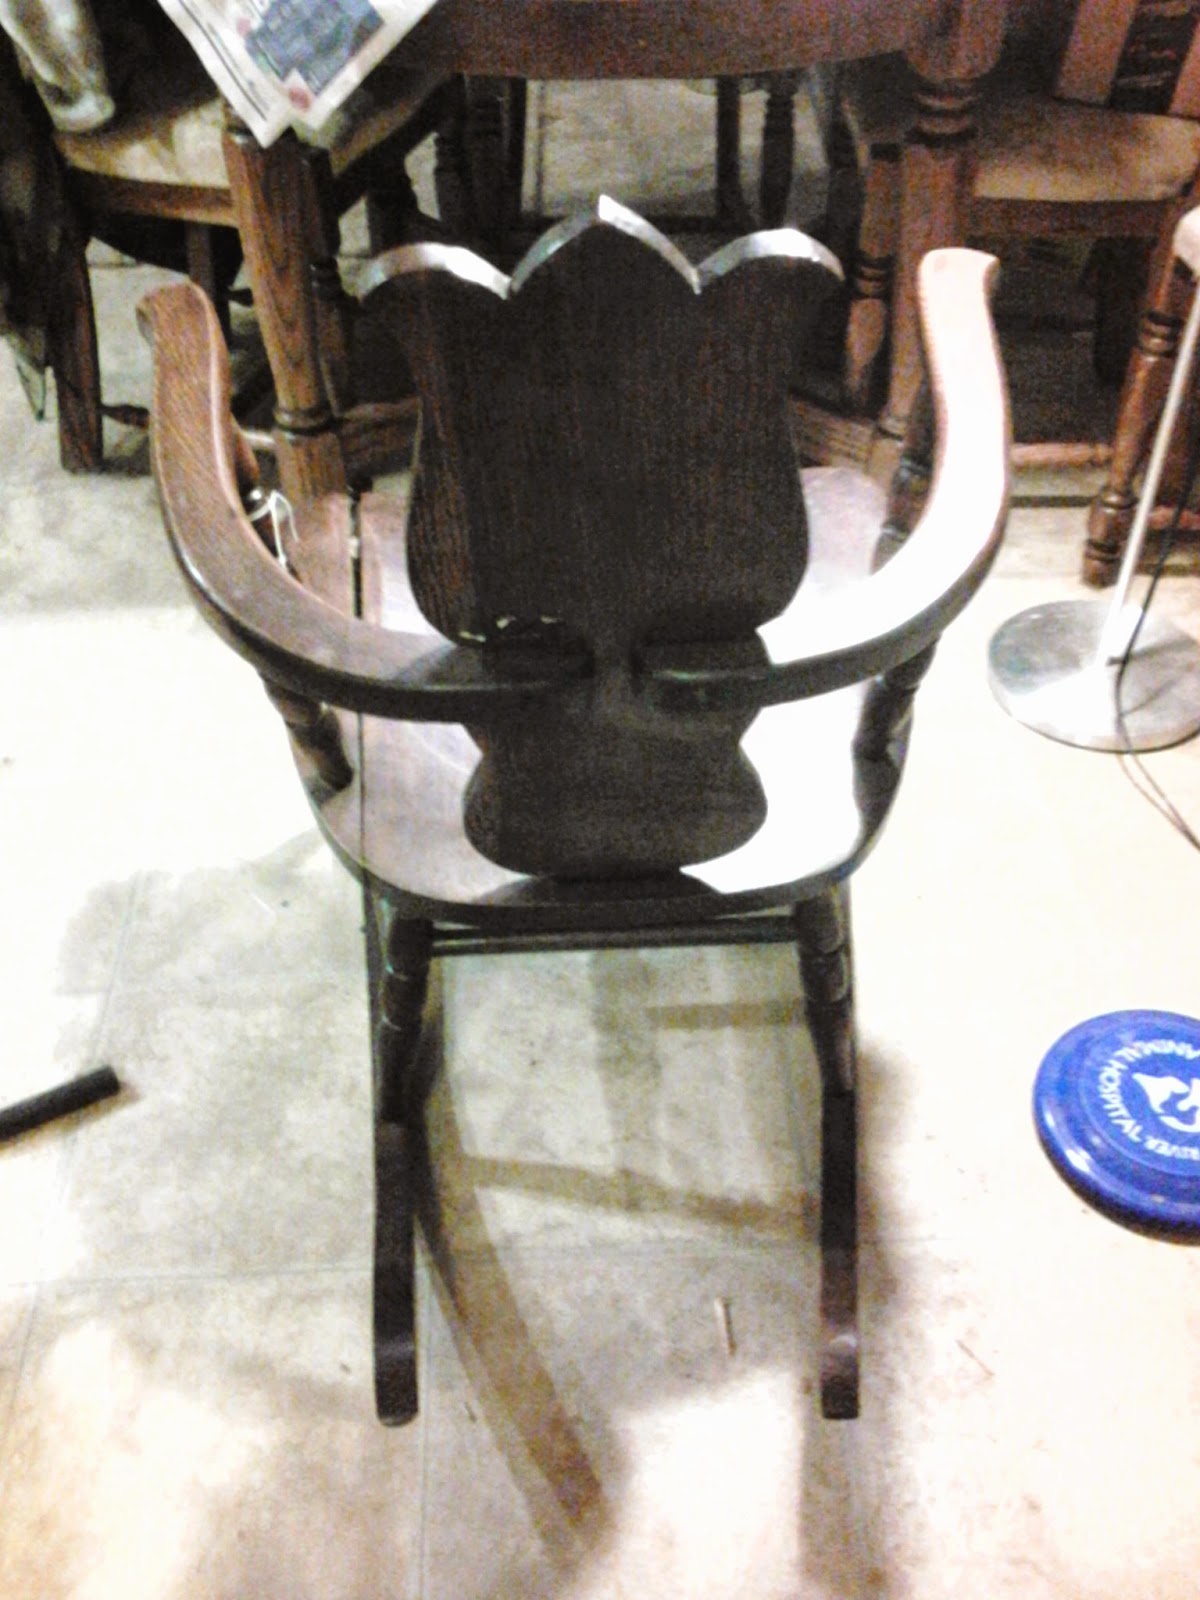
She had selected a chair for her granddaughter and while it was a sweet rocker with a pretty Tulip shaped back, it had a broken seat.  And it's a pretty dark color.
We offered to fix it for her since she was not sure if she could do it herself.  I looked at it and knew it was simple enough to fix.


It's a pretty piece of furniture, and it is SOLID wood, so it is worth the effort.
The before shots - and I will post more as I proceed.  She may want me to paint "Frozen" style graphics on it.... I won't mind.

The seat was repaired and felt solid - the joints are all tightened.  Took it back to Ms Bunnie and she didn't like the dark wood for her girlie 8 year old granddaughter.

Yay!  I get to paint it... all agreed it was too dark for an 8 year old so I selected 2 nice colors and it will be PINK!  A sweet pink with lavender as a contrast color.
After a little test, the old varnish/stain was bleeding through; turning my pink selection a streaky orange.  Pulled out the sandpaper and the KILZ!


2 on the top section and first coat on the bottom. Which is reversed in my pics because the chair is flipped over. 

It looks like I need another coat on the back.  The bleed through bugs me. Nothing is allowed to muss up my pinks.


I have successfully primed and have painted it.  Among the process the details of the pretty chair backs have come in question - so I followed my husbands suggestion to paint it the lavender instead of the pink to bring more lavender into the piece.
 
Lovely Pink chair with the lavender peaking out.
Free hand paint.... hated it.
Created a cool stencil to adorn the front and back.
Adding small detail to the seat.
Looks a little sloppy - first pass, after all - but the lavender back looks great and the flower really looks pretty.  Even if it is a crappy artist creating and painting it!
All done. I do think my 2nd pass on decorations were so much better!
Sunday, January 4, 2015

My failed Litter Box holder

Who has cats?  And dogs? 

The combo is a dilemma.  Where do you put the catboxes so the dogs do not visit them and use them as their own personal snack bar???

Then follow up their snack with appreciative Mommy kisses!  Blah.

I thought this would make a great place to hide the cat box!


This is what I started with...  Yes. That is ALL rusted metal.
But it looks REALLY cool.  The texture is a grapevine pattern.

Tape off the wood and spray rust inhibiting Rustoleum to stop the ugliness from claiming the cool chest.


Let the fun begin
The failed litter box chest has become my new tool storage bin in the corner of the kitchen.  Saves me from walking up and down the basement stairs when I need sandpaper or a screwdriver!

Below is the finished project....  all weathered and repaired.  The rust has been stopped in its tracks and it still looks just a little beat up and neglected!

Friday, January 2, 2015

KCL - Our favorite DIY lady, Leanne Lee, owner of Rekindled Spaces, show...


Once you try this, you will never go back to just painting old furniture! 

Check out this web page for great ideas!!

http://salvagedinspirations.com/best-homemade-chalk-paint-recipes/


Make your own chalk style paint


This is a most excellent video about how to create your own chalk paint.  Personally I favor the plaster of Paris version, just because I purchased some Annie Sloan and it's very pricey!  I prefer to save and get the same effect.  I am just posting this in case someone wants to know how I did my chalk paint.  This is exactly where I found it!!

Thursday, January 1, 2015

How to hide an offensive cat litter box

Tinkerbell and Delilah (collectively called "The Girls") have 3 litter boxes in the house.  All three must be accessible by the Girls at all times - while not being accessible to the DOGS!  For dogs look at litter boxes as little boxes of heavenly snacks!
After lots of searching I found a cabinet just the right size to hold a litter box.  It was a bit DARK so I will chalk paint it!


So I selected an Eddie Bauer color combination - Mercer Blue and Craft White - mostly because it was left over from our bedroom makeover, and I loved the color combination!  So $25 for the cabinet and the paint was all leftovers.  

Took off the door and started to putty the lock hole and old handle hole - don't like them - plan on replacing them.  Sanded the varnish and stain off of the top - there is a cool pattern the top - hate the color - so I will make it lighter so it stands out.

On goes the painting!!!  And you can see my pretty top.


 So blue paint first and then I used the Craft White paint and rub/smudge process.  Oh, I also installed a cat door for litter box access that is exclusive to the Girls and does not allow dog access.


 Started to paint the door - while it dries I type this, before I do a second coat of paint on the door and then do the inside of the door - as I Annie Sloan wax the cabinet.  Don't look forward to it (the waxing) but it must be done.  I heard some people use a clear varnish... haven't tried that - but I just might on the inside where the cat dirties will be!

More to follow....
And she is done! I embellished a little. All for $39..... Yay!

Gidgets Bed!!!

I haven't blogged in so long - I still don't know what I am doing and I am an IT professional!

I have chosen to document my DIY projects - good, bad and indifferent!  I recently made a bed for my shishy min-pin Gidget!  She is adorable, but has problems with these little fishy glands in her bottom that require regular groomer attention.  So having her on the bed is not a great idea if once a month "they" act up.  So she needed her own room.

I found an ugly nightstand - good bones so the color and composition don't matter.


What I started with


Then using my circular saw and a hammer I removed the drawer support and cleaned out the innerds to make it an open faced box.

I broke it


With the drawer - I want the front to be the support to keep her bedding in place so I got a jigsaw with a multi purpose blade and cut the sides and bottom away with the blade as close to the front as I could get without damaging it.  It helped to have my husband holding it while I cut.

He trusts me not to cut off his fingers....  That is love....


That must be my concentrating face..... Ugh!  


 I roughed it up with some sandpaper - lightly - mixed my colors with plaster of paris for "Chalk Paint" and went to town painting.....  I distressed it with paint - choosing not to sand or buff the chalk paint because the last thing I needed was this ugly brown/red color peeking through my pretty pink.
I used polar bear white and a chocolate brown to create the distressed look - and some gold paint to pimp it out.....


Skip to minor distressing and the drawer front ripped from the drawer with a jigsaw.


Insert space for eye rolls here - yes I completely love this little dog.

I waxed it using Annie Sloan wax (the clear) and mounted the drawer face.


Mounted the drawer front with an L bracket on L & R and she was in it like she knew I did it all for her!


Then the finale - after curtains were put up using a JoAnn pressure rod and some light sewing...